This how-to guide will get you started using the MinimalCSS Page Optimizer plugin.
Step 1 – Testing Setup
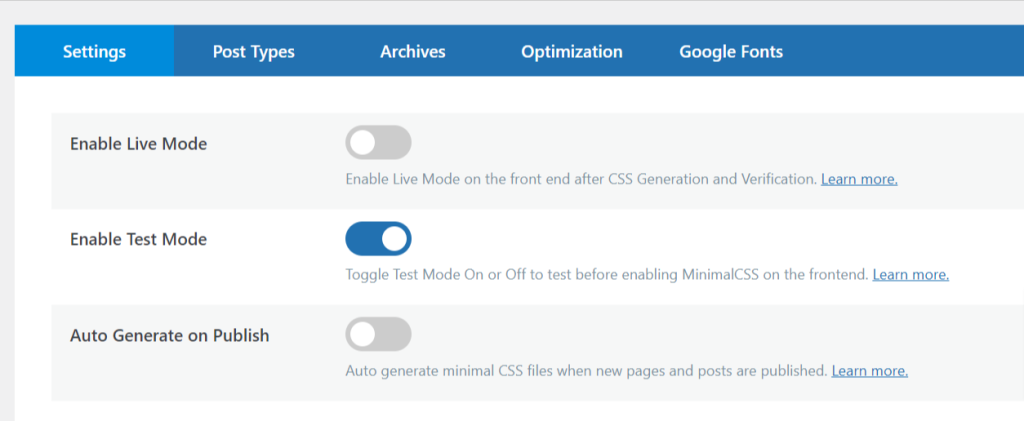
The first thing you want to do is make sure Live Mode is disabled and Test Mode is enabled.
This means only you can see the site with the unused CSS removed while you work on the site.
Step 2 – CSS Selectors
One of the shortfalls of many plugins that remove unused CSS is that they pretty much run on auto-pilot. Although that removes any onus from the user having to do any work, it almost always results in broken functionality.
This is where these CSS selectors come in.
When the MinimalCSS server agent visits a page to remove the unused CSS, it doesn’t see the page as a user might see it.
Examples of this might include:
1. Sticky header that appears after you scroll down.
2. A Go To Top button that appears in the bottom of the screen after you have scrolled further down the page.
3. A popup that only appears when you click a button on the page
And others.
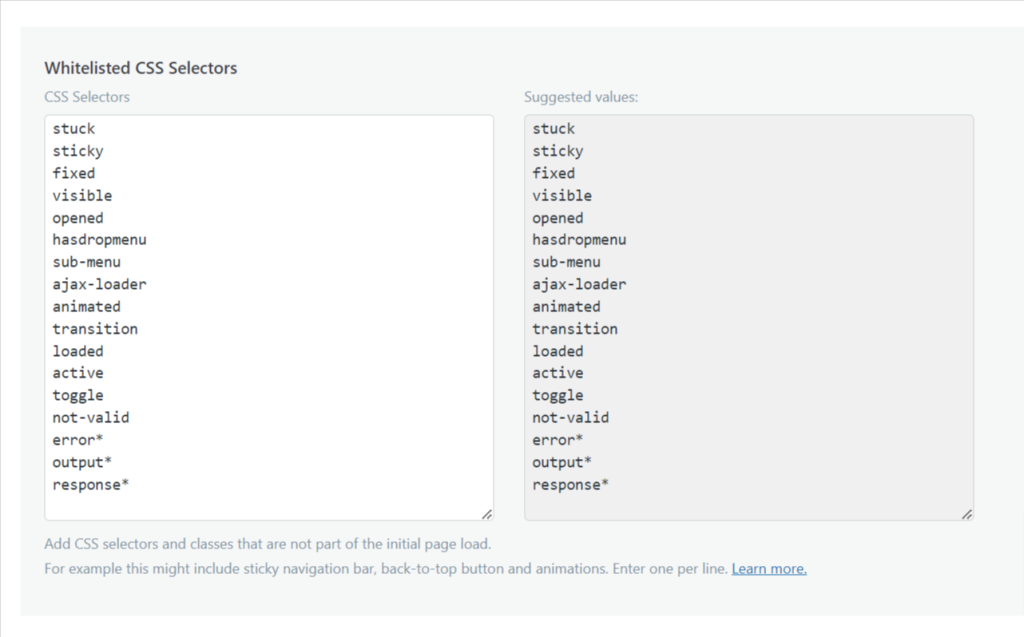
To account for these “hidden” features, we need to whitelist a bunch of CSS selectors.
The plugin has a list of suggested CSS selectors that you can use as a starting point. Simply copy and paste them into the box on the left.
Once you are done, click the Save button.
Step 3 – Generate CSS
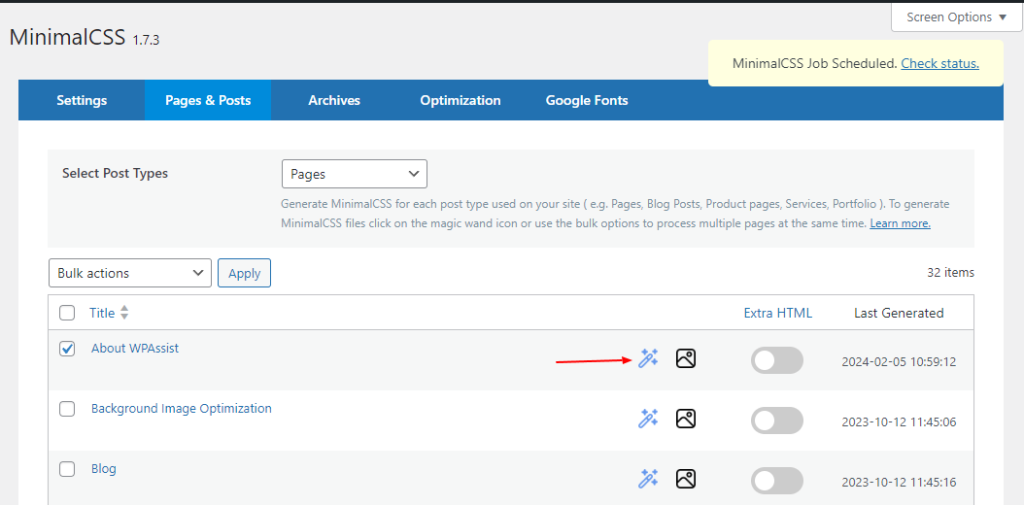
Next, go to the Post Types tab.
If you have the free version, you will only see the homepage listed on the page. With the Pro version, you will see all the pages and posts you have published on your website.
Click on the Magic Want icon to generate the minimal CSS for the corresponding item.
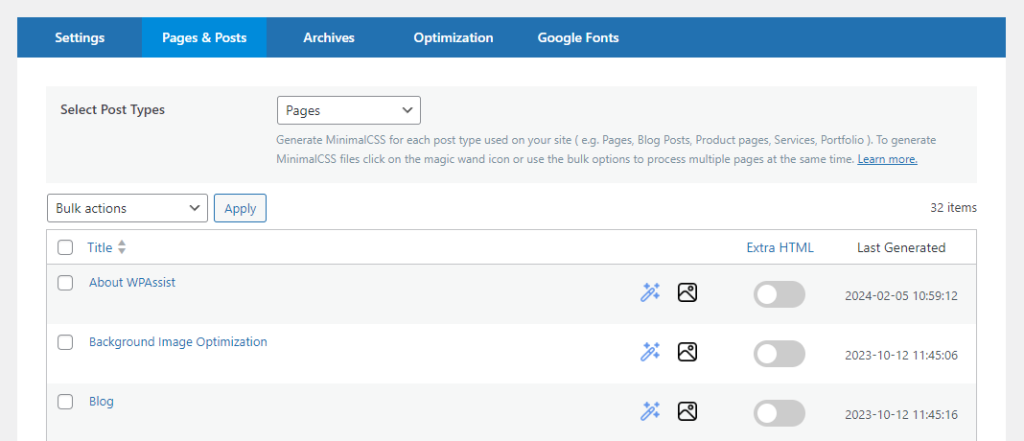
If you have the Pro version and you see a big list of pages, it is still better to just start with one page as a test.
Step 4 – Scheduled Job
Initiating the MinimalCSS process will create a scheduled job.
You will see a notification alert in the top-right corner of your screen indicating the job has been created.
Clicking on the “Check Status” link will redirect you to the Activity Log page.
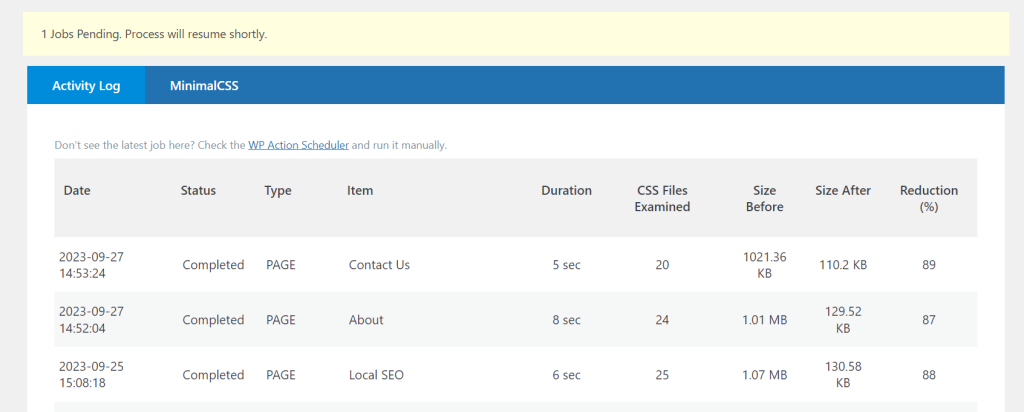
On this page, you can see the results of previous jobs and how many jobs are still in the queue.
The page will refresh every 10 seconds to keep you informed of the number of jobs remaining.
If you want to manually start a job, click the “WP Action Scheduler” to see the actual job queue.
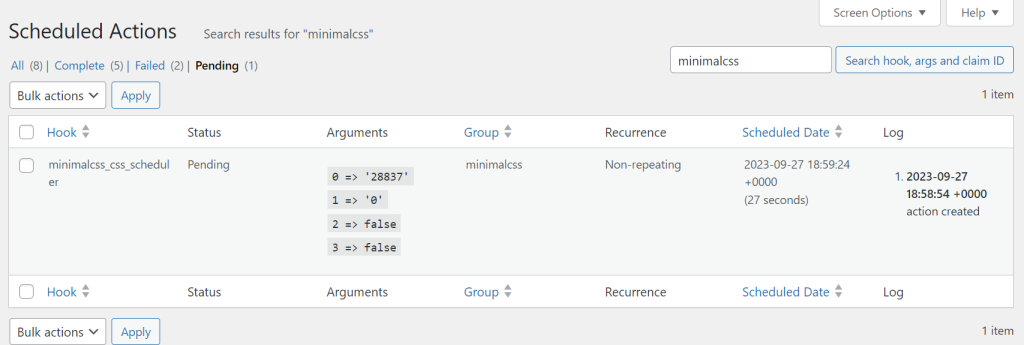
The MinimalCSS Page Optimizer plugin uses WP Action Scheduler to manage the minimalcss tasks.
Hover over an entry in the first column (hook) and click “Run” to start a job manually.
Step 5 – Verification
Now go back to the Post Types tab and click on the tile of the page or post you just ran the minimalcss job against.
Make sure the page is loading as it usually does and scroll up and down to ensure all the functionality is still there.
If something is not showing up as expected, you need to identify the CSS selectors associated with the missing functionality and add it to the whitelist and then re-run the minimalcss job.
Step 6 – Google Fonts
When you are happy with the results of the minimalcss run, head over to the Google Fonts tab.
Note: For this step to work, you might have to disable your caching plugin.
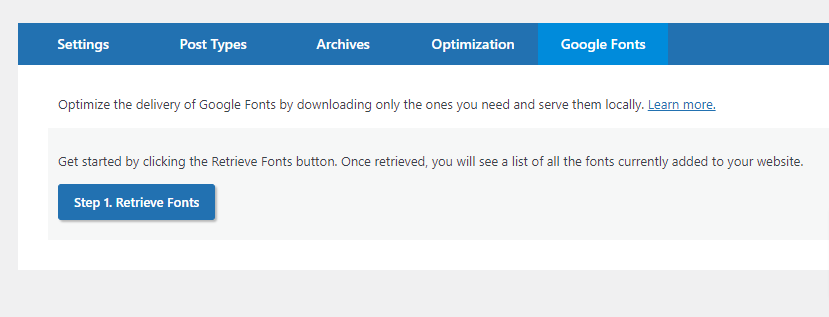
Click on the “Retrieve Fonts” button.
This will parse the homepage looking for Google fonts used on the website.
The process should take a few seconds. Once complete, the Google fonts found will be displayed by font-family, subset and weights.
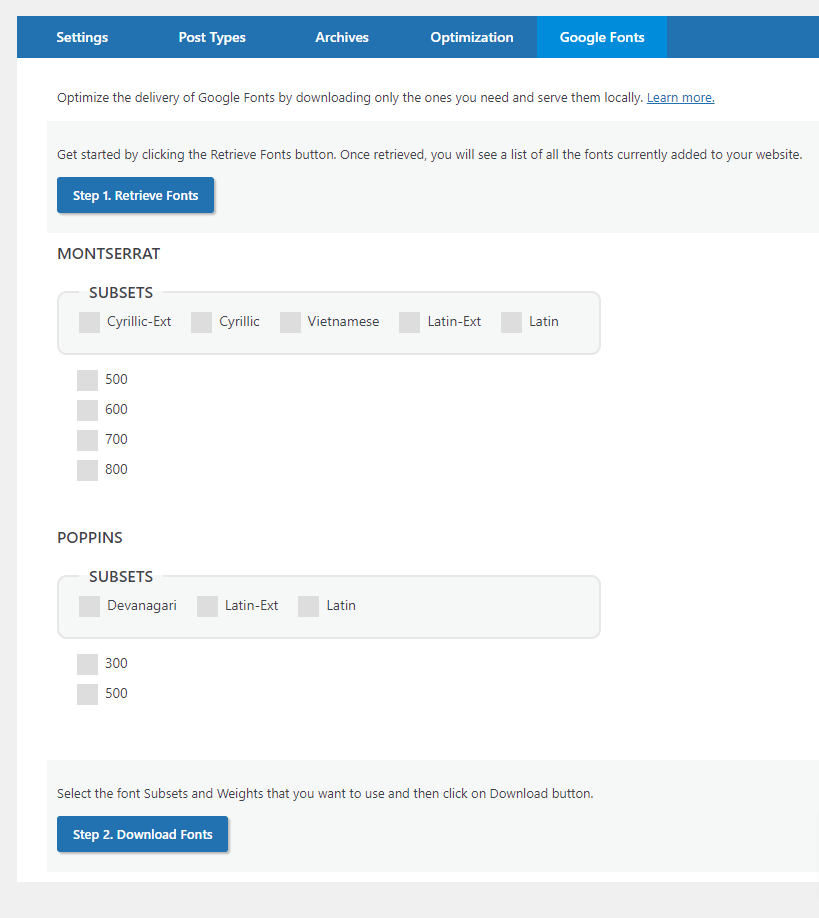
Select all the fonts you know are being used on your website.
Perhaps every font family and weight are in use on your website. But more often than not, themes and plugins add a whole bunch of fonts that are never used on the site.
One way to find out which ones are begin used is through visual inspection using your browser’s Developer Tools.
With the website open in your browser, right-click on different text and headings and select “Inspect”.
Review the element’s CSS for font-family and font-weight and check off the corresponding one in the Google Fonts tab.
Repeat until you have found all of them.
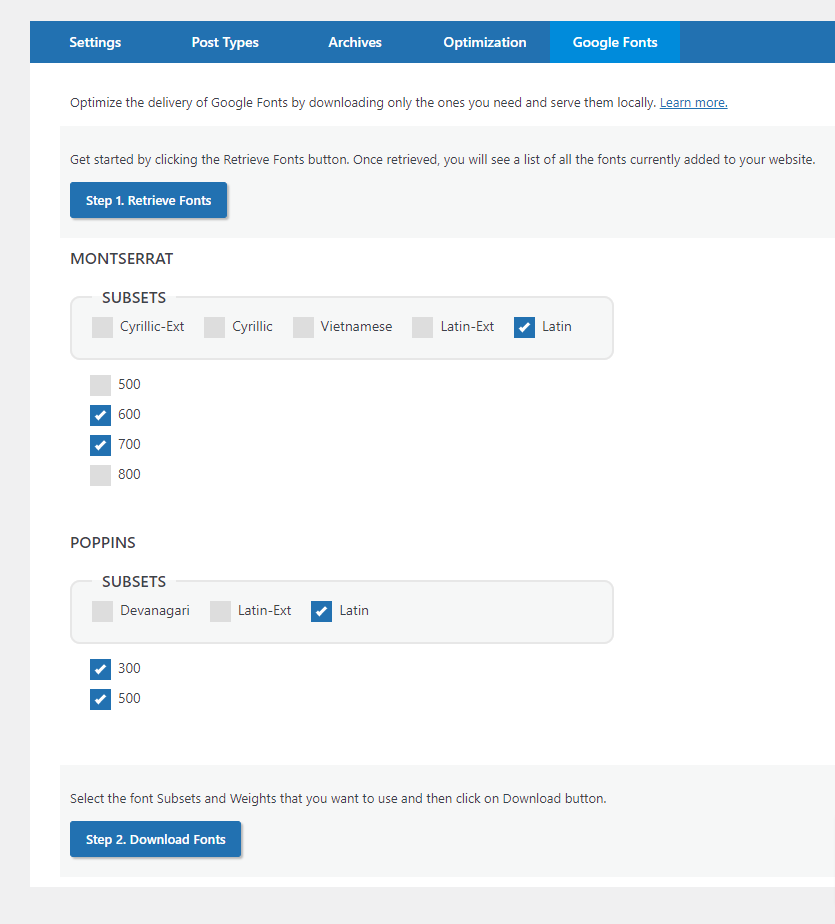
Once you believe you have identified all of the fonts used on your website, click on the “Download Fonts” button.
This will download the selected fonts to your website’s server.
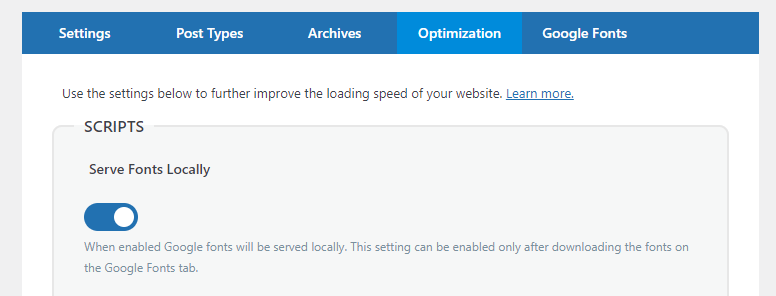
Now head over to the Optimization tab and enable the “Serve Fonts Locally” switch.
This final step is there to give you a quick way to turn this feature on and off in case of any issues.